
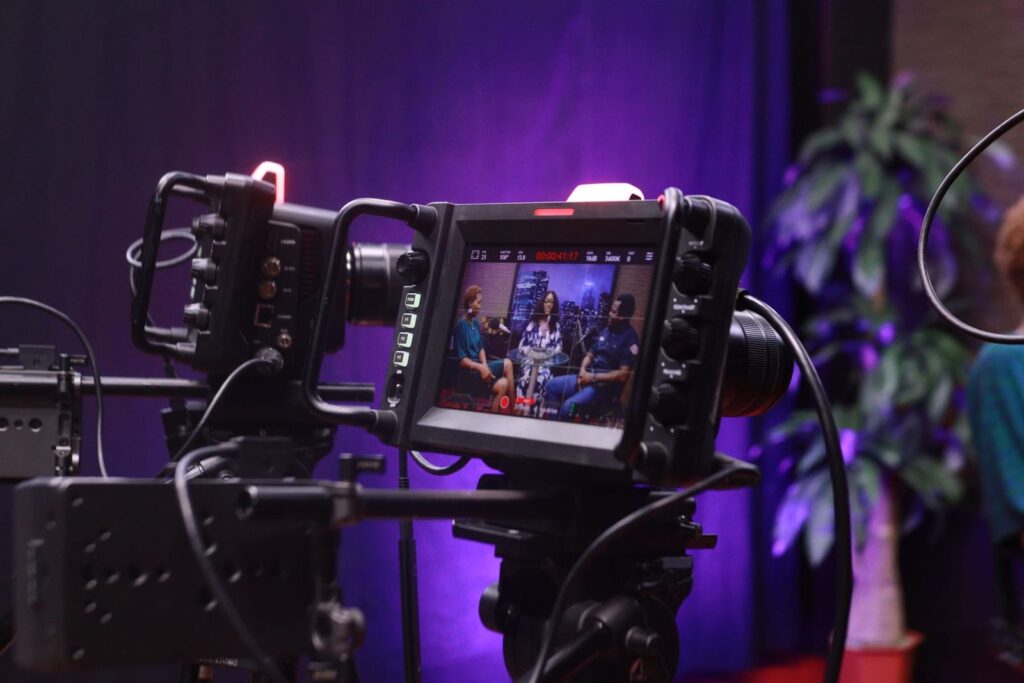
Interviews are the backbone of documentaries, corporate videos, YouTube channels and podcasts with video. Good lighting is what separates an interview that looks professional from one that looks like a video call. The good news is that you do not need a truck full of equipment. With one or two affordable lights, a window, a reflector and an understanding of a few principles, you can light an interview that looks clean, flattering and cinematic.
The basic principles
Soft light flatters faces
Light from a small, bright source creates hard shadows and harsh highlights. Light from a large source close to the subject wraps around the face and creates soft, gradual shadows. The simplest way to improve interview lighting is to make your light source bigger, by using a softbox, bouncing the light off a wall or ceiling, or shining it through a diffusion material.
Direction creates shape
Light coming from directly in front of the subject, next to the camera, flattens the face. Moving the main light off to one side, typically around 30 to 45 degrees from the camera and slightly above eye level, creates shadows that give the face depth and shape.
Contrast sets the mood
The difference in brightness between the lit side and the shadow side of the face sets the tone. Low contrast looks bright, friendly and corporate. Higher contrast, with a deeper shadow side, looks more dramatic and cinematic.
The classic three point setup
- Key light: the main and brightest light, placed to one side of the camera and slightly above the subject’s eye line.
- Fill light: a softer, dimmer light on the opposite side that lifts the shadows. It can be a second lamp, or simply a reflector or white surface bouncing back some of the key light.
- Back light: a light behind the subject, often called a hair or rim light, that separates them from the background with a subtle outline.
This setup is a starting point, not a rule. Many beautiful interviews use only one or two lights.
A one light interview setup
If you only have one light, you can still get excellent results:
- Place a soft key light to one side of the camera, angled towards the subject’s face.
- Use a reflector, a white foam board or even a white wall on the other side to bounce some light back into the shadows.
- Seat the subject a few feet away from the background so the background falls slightly darker, which helps them stand out.
- Add a practical lamp in the background, such as a table lamp, to give depth and a sense of place.
Using window light
A large window is one of the best free soft light sources available, especially on an overcast day or when direct sunlight is not hitting the window.
- Position the subject so the window is to one side of them, rather than directly behind (which silhouettes them) or directly behind the camera (which flattens them).
- Use a reflector on the shadow side if the contrast is too strong.
- Diffuse direct sunlight with a thin white curtain or diffusion fabric.
- Remember that daylight changes over time. For a long interview, clouds and the moving sun will change the look, so check your shot regularly and consider supplementing with an artificial light.
Short side and broad side lighting
Interview subjects usually look slightly off camera, towards the interviewer. Placing the key light on the side the subject is facing, so that the side of the face turned away from the camera is lit, is called short side lighting. It tends to look more flattering and cinematic, because the shadow falls on the side of the face nearest the camera. Lighting the side of the face closest to camera, called broad side lighting, looks flatter and brighter. Try both and see which suits your subject and your story.
Budget equipment worth buying
- An LED light with adjustable brightness, ideally with a good color rendering index (CRI or TLCI) so skin tones look natural.
- A softbox or umbrella to make the light larger and softer.
- A collapsible 5 in 1 reflector, which includes white, silver, gold, black and diffusion surfaces.
- Light stands and sandbags to keep everything stable and safe.
- A small LED panel as a back light or background accent.
Control color temperature
Different light sources have different colors. Daylight is cool and blue, tungsten bulbs are warm and orange, and many household bulbs fall somewhere in between. Mixing them can create odd color casts on skin. Where possible, match all your lights to one color temperature, set your camera’s white balance manually to match, and turn off overhead lights in the room, which are often unflattering and tinted.
Common mistakes to avoid
- Overhead lighting that creates dark shadows under the eyes.
- Glare on glasses. Raise the light higher or move it further to the side until the reflection disappears.
- A bright background that pulls attention away from the subject.
- Mixed color temperatures from windows and indoor bulbs.
- Flickering lights. Some cheap LEDs and fluorescent tubes flicker on camera. Test before recording.
Final checks before rolling
Look at the image on a monitor rather than trusting your eyes in the room. Check exposure on the face, look for hot spots, glare and unflattering shadows, and make sure the eyes have a small catchlight. A good interview setup is one the audience never notices, because all their attention is on what the subject is saying. For more on building a nonfiction project around interviews, see our guide on how to shoot a documentary.